


 Ok I know it says tutorial but it's more of a quick run down. I'm going to assume you know the basics of making a bag so not explain every step in great detail. I will try to come back and add more later but wanted to get this up for those who had been asking.
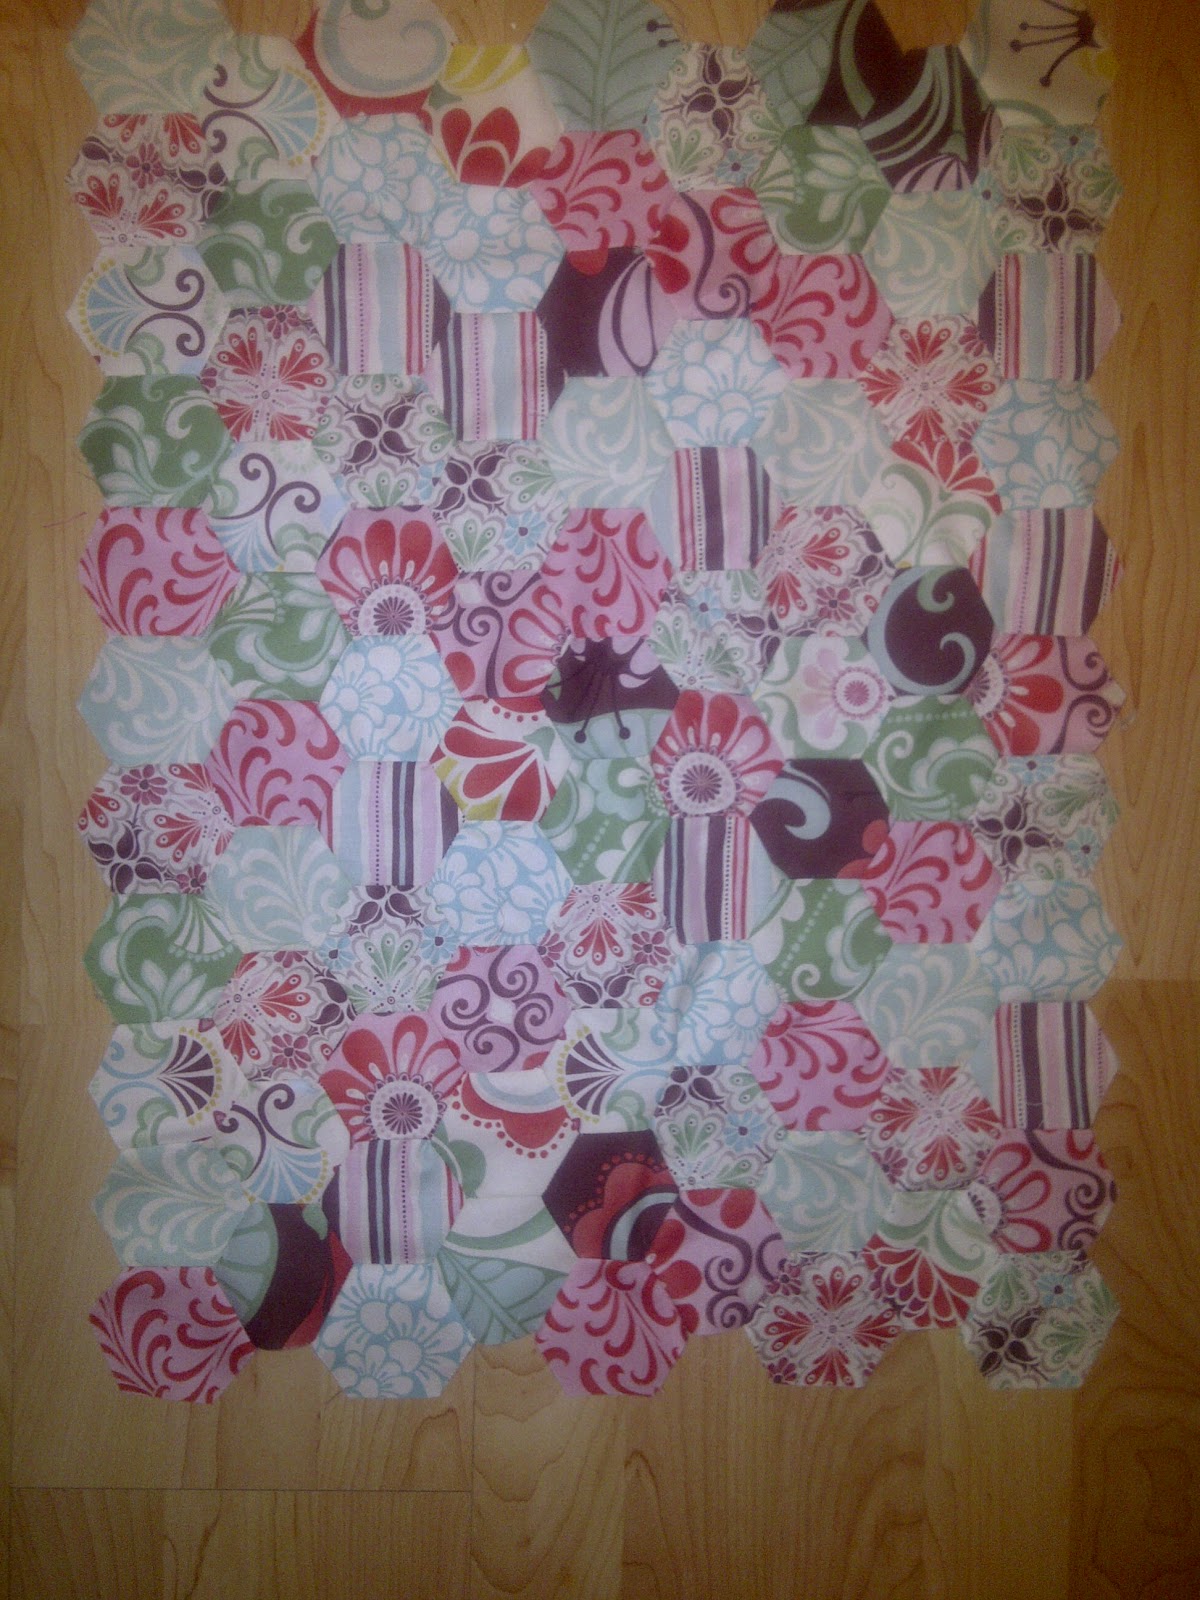
Make a section sewing hexies (I used hexies that were 1.75" across one side) together. 9 rows across, 10/11 down. I used a y-seam to attach the hexies. If you like you can do it english paper piecing and either hand stitch the hexies together or lay then next to each other and just zigzag them together, then pull out the papers. Square it up and measure the final size. Mine was 14 x 18 I think.
The shorter side is the width of the bag.
Cut 2 strips 1.5" x width of the bag. Fold in half lengthwise wrong sides together and press. This the flange, or flippy bit as I call them.
Cut 2 3" x width of bag strips for the top piece.
Lay 1 of the 3" strips right sides together with the hexie section with the flippy bit in between with the raw edge lined up with the top section. Stitch together. Repeat on the other end of the bag. Press.
Measure the entire piece. You need to cut or piece a section the same size for the lining. I added 3 pockets by sewing a piece of fabric to the lining. Just make sure you put the opening up to the closet edge, otherwise your pocket will be upside down.
Fold each section in half lengthwise and stitch along the sides. On the folded end measure in and up 1-2" and mark both spots. Stitch a line connecting the two spots and cut off the excess triangle. This is to create a bottom for the bag.
Do this to both corners on both the liner and the outer shell sections.
Place the outer shell into the lining so the right sides are facing. Stitch all around the top leaving 2" gap for turning the bag. Turn the bag right side out and push the lining into the outer shell. Press as well as you can. You can add a zipper at this point or just stay stitch 1/8" from the top of the bag.
For straps I used a 3" x 20" piece, sewed it right sides together and turned it right sides out. Press and stitch 1/8" on either side. You can finish the ends either with a French seam or tuck them into the strap itself and stitch across.
Add 1" grommets to either side of the bag about 1-2" from the top. Lace the straps through. You can tie them together, or add something to the ends to keep them from coming out.


 Quilter Blogs & Store Search
1 comment:
What a lovely tutorial.
It's a beautiful bag and it says make me, make me.
Thanks sew much. :D
Post a Comment